Introduction
In the digital era, educators are constantly seeking ways to make learning interactive, engaging, and fun. Traditional teaching methods are no longer sufficient to capture students’ attention, especially in a world dominated by screens and digital tools. That’s where Blooket comes in. Blooket is an online educational platform that allows teachers to turn lessons into interactive games, combining learning with playful competition. Hosting a Blooket game not only reinforces student knowledge but also motivates participation and helps teachers track progress in real time.
This guide will walk you step by step through the process of hosting a Blooket game, from account setup to game monitoring. It is designed to be beginner-friendly, practical, and adaptable for all types of classrooms—whether in-person or online. By the end, you will have all the tools you need to make your lessons more engaging and productive.
What is Blooket?
Also Read : Crypto30x.com ICE What it is, how it works, risks
Blooket is a gamified educational platform where students participate in quiz-based games. The platform allows teachers to create question sets or use pre-made ones, turning standard classroom content into interactive challenges. Students join games using a unique code, and multiple game modes offer varied learning experiences.
Also Read : TophillSport.com: A Comprehensive Guide to a Multi-Interest
The primary appeal of Blooket is its flexibility. Teachers can use it for quick reviews, formative assessments, homework assignments, or just for fun to reward students. Blooket’s focus on gamification promotes engagement, encourages collaboration, and supports competitive learning in a positive and motivating environment.
Step 1: Create Your Blooket Account
Before hosting a game, you need an account. Setting it up is simple and free.
-
Choose to sign up using your email or a Google account.
-
Set your role as “Teacher.”
-
Complete any verification steps.
Once your account is ready, you can access your dashboard, where you will manage question sets, games, and students’ progress. Teachers can also organize multiple sets for different subjects or grade levels, making it easier to plan lessons in advance.
Step 2: Choose or Create a Question Set
Blooket provides flexibility in content creation. Teachers can either select pre-made question sets or design their own for customized learning.
-
Using a pre-made set: You can browse Blooket’s library and choose a set that aligns with your curriculum. This is useful for saving time and quickly launching a game.
-
Creating your own set: Teachers can create a new set by providing a title, description, and questions with answers. This ensures the game is tailored to your lesson objectives and allows for more control over content quality.
Custom sets are highly recommended for teachers who want to focus on specific topics or reinforce recently covered material.
Step 3: Host the Game
After selecting a question set, you can host your Blooket game. Hosting is straightforward:
-
Open the question set you want to use.
-
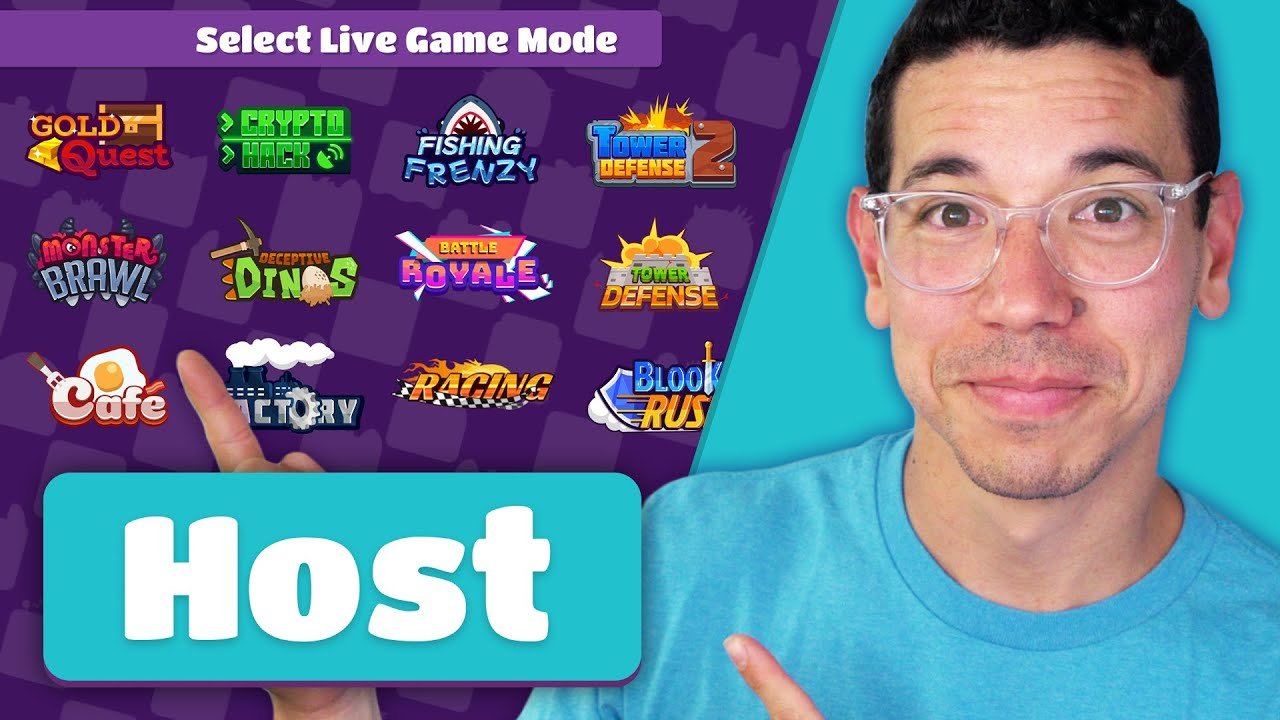
Click “Host” and select a game mode.
Blooket offers a variety of game modes to cater to different classroom dynamics:
-
Classic Mode: A traditional quiz experience, perfect for review sessions.
-
Tower Defense: Students answer questions to defend a tower, combining strategy with learning.
-
Gold Quest: Students earn gold for correct answers, adding a reward system.
-
Battle Royale: Students compete against each other, fostering a competitive environment.
-
Cafe, Factory, and Racing Modes: These simulate real-life tasks where progress depends on answering questions.
Once a mode is selected, a game code is generated. Share this code with students, who can join from their devices.
Step 4: Customize Game Settings
Before starting, you can adjust game settings to optimize engagement:
-
Time per question: Set a duration suitable for the complexity of the question.
-
Number of questions: Decide how long the game will last.
-
Late joining: Allow students who are late to join without disrupting the game.
-
Random names: Automatically assign nicknames to maintain anonymity and fairness.
Customizing these settings ensures that the game fits the classroom schedule and meets the specific needs of your students.
Step 5: Monitor the Game
Blooket allows teachers to monitor students’ performance in real time. During gameplay, you can:
-
Track correct and incorrect answers for each student.
-
View the leaderboard to gauge engagement and performance.
-
Identify students who may need additional support on specific topics.
This real-time monitoring provides actionable insights, allowing teachers to adjust lessons based on student understanding and participation levels.
Step 6: Ending and Reviewing the Game
After the game concludes, Blooket provides a detailed summary of the session:
-
Individual scores and performance statistics.
-
Overview of questions that were challenging for students.
-
Leaderboard and ranking insights.
Reviewing this data helps teachers identify trends in student understanding, adapt teaching methods, and plan targeted interventions. It also allows for recognizing high performers and providing motivational feedback to the class.
Step 7: Assigning Homework (Optional)
Blooket games can also be assigned as homework for additional practice:
-
Select the “Assign as Homework” option.
-
Set a deadline for completion.
-
Share the homework code with students.
Students can complete the assignment at their own pace, reinforcing learning outside the classroom while maintaining engagement.
Tips for a Successful Blooket Game
-
Start small: Begin with short games to familiarize students with the platform.
-
Encourage participation: Use team modes to promote collaboration.
-
Mix game modes: Rotate different game styles to keep students engaged.
-
Use feedback: Review results to improve future question sets.
-
Maintain balance: Ensure the game is fun but still aligned with learning objectives.
By following these tips, teachers can maximize the educational benefits of Blooket while keeping students motivated and engaged.
Read More: Crypto30x.com ICE What it is, how it works, risks
Conclusion
Hosting a Blooket game is a powerful way to transform traditional lessons into interactive, engaging experiences. The platform’s user-friendly interface, flexible content options, and variety of game modes make it suitable for classrooms of all sizes and subjects. By leveraging Blooket, teachers can foster a positive learning environment, track student progress, and make learning enjoyable.
Whether used for reviewing material, assessing understanding, or assigning homework, Blooket provides an innovative approach to teaching that aligns with modern educational needs. With careful planning, customization, and monitoring, educators can create memorable and effective lessons that students look forward to participating in.
FAQs
1. Do students need an account to play Blooket games?
No, students can join using a game code without creating an account.
2. Can I host Blooket games remotely?
Yes, games can be hosted online, allowing students to join from any device.
3. How can I monitor student progress during a game?
You can view real-time answers, track correct/incorrect responses, and monitor the leaderboard.
4. Are all Blooket features free to use?
Most features are free, with a premium option for additional customization and advanced game modes.
5. Can Blooket be used for any subject?
Yes, it works for all subjects, and you can create or use question sets tailored to specific topics.